The best way to let people sign up for your contact list is to create a subscription form. Using this form, it’s just a matter clicks to build a list for your website.
Subscription forms are easy to create and place on your website. With plenty of auto responder services and email marketing tools available online this can be achieved with a few lines of embedded code.
In this article, we will set up a MailChimp to Slides subscription form for your website. By default, it is assumed that you already purchased the Slides template so we don’t need to worry about the HTML and CSS.
What You Need:
- Slides template
- MailChimp account
- Basic knowledge about HTML
Getting Started
Before we begin you must login to your MailChimp account or sign up if you don’t have one.
Creating a MailChimp Signup Form
With MailChimp you can design your signup form so it suits your needs and matches your subscription form. You can add drop-down boxes, radio buttons and collect information in custom fields.
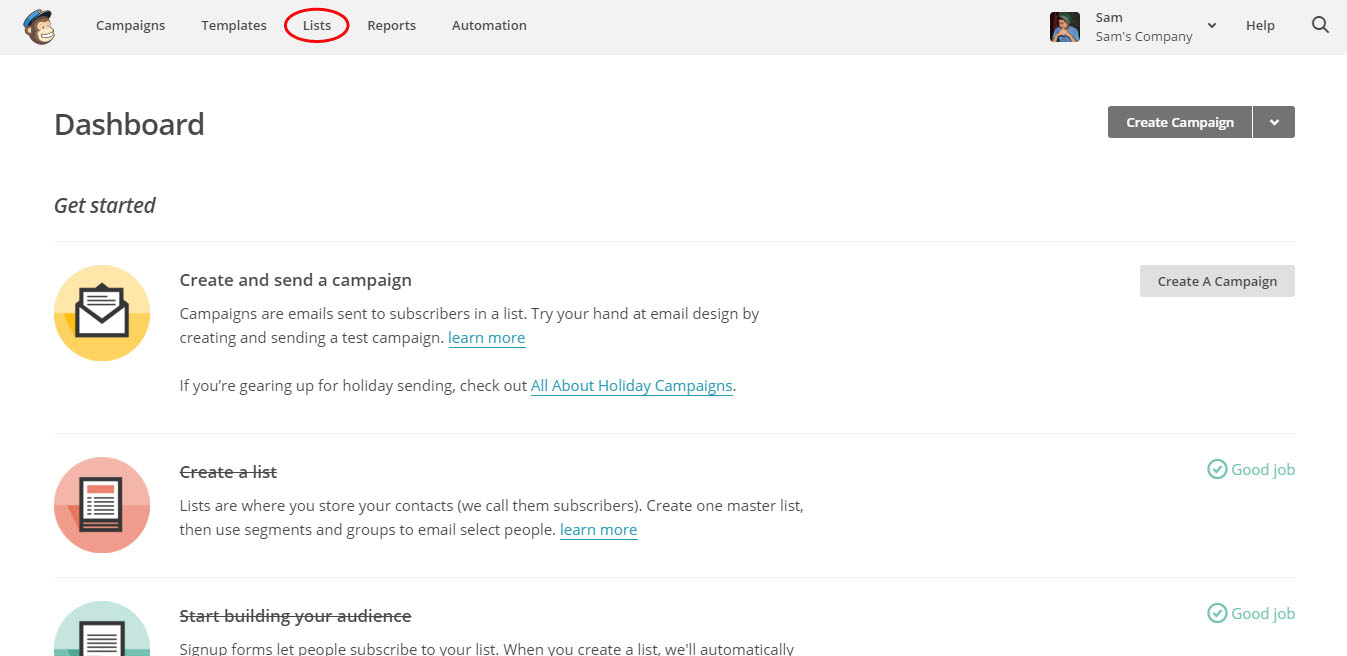
To create a MailChimp Signup Form, simply go to your dashboard and then click the “Lists” link on the top navigation. Lists are where you store your contacts (subscribers).
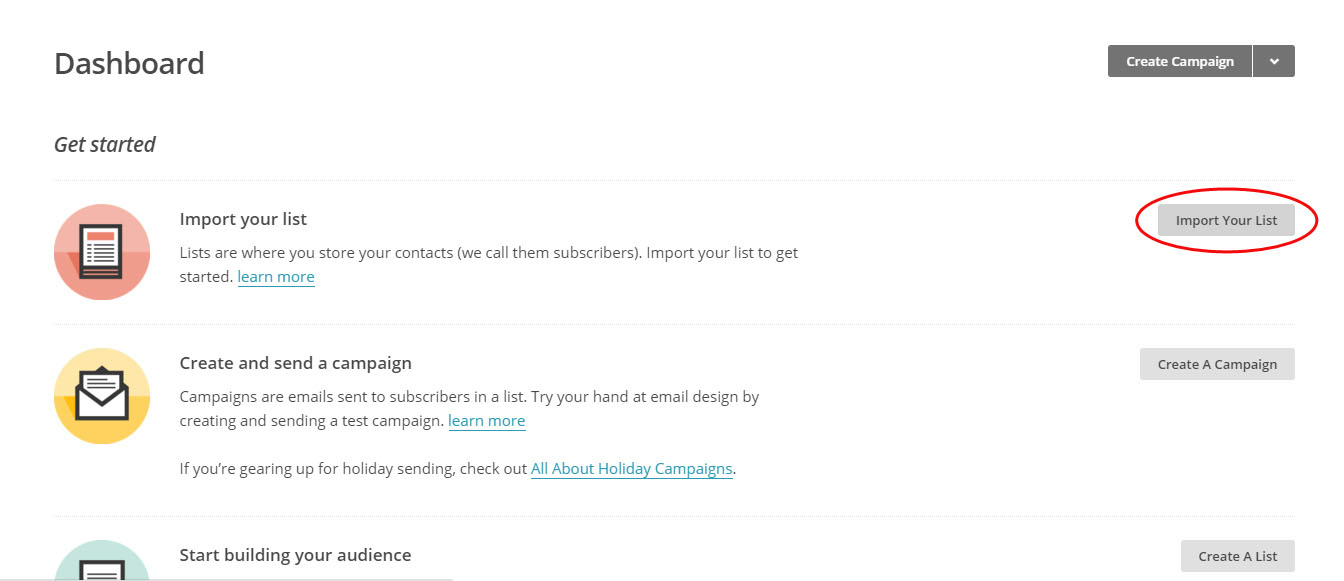
If you don’t have a list yet, click the “Import Your List” link on the right side panel under the import your list section and then fill in the form fields for the details of your list.
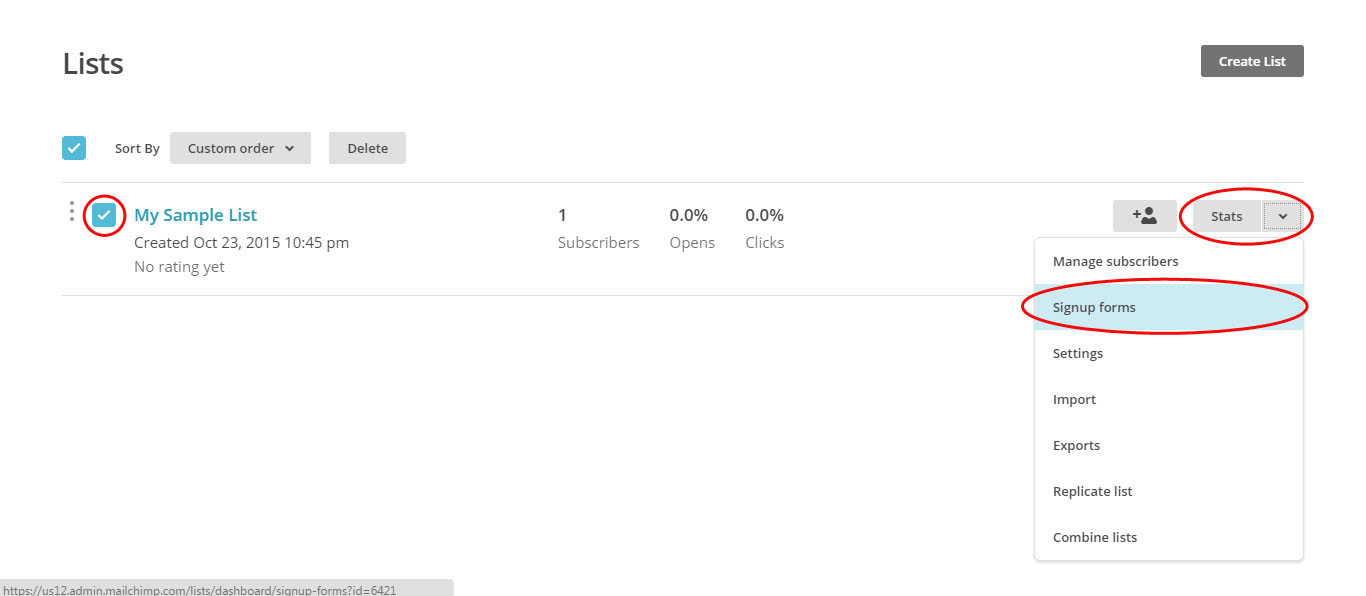
Next, under the Lists dashboard, select the list you want to create a subscription form and then on the right side of the screen, click the “Stats” dropdown menu and select “Signup Forms.”
Now it will take you to the Form Option window of the selected list. Since we will not be building our own subscription form from scratch, we will select “Embedded Forms.“Click the “Select” button on the right side of the screen.

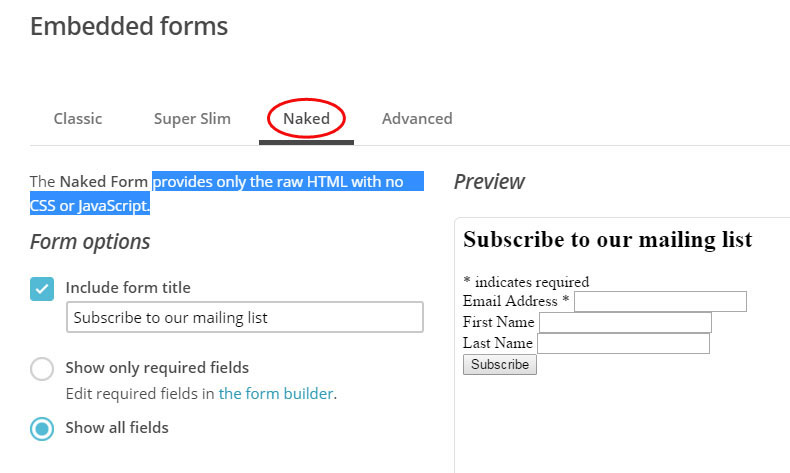
Under Embedded Forms Dashboard you can see four available options:
- Classic – includes all visible fields for this list
- Super Slim – collects only email address. Great for small spaces
- Naked – provides only the raw HTML with no CSS or JavaScript
- Advanced – provides more options to customize your form using custom CSS, hidden fields and MailChimp API
For this part, we’re going to use the Naked version.
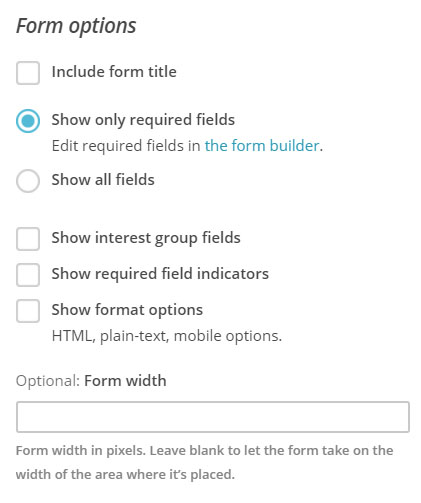
There are few options that we need to configure as we will only need a few lines of code that we will integrate with Slides. To achieve this, uncheck the following form options on the left side of the screen:
- Include form title
- Show all fields
- Show interest group fields
- Show required field indicators
- Show format options
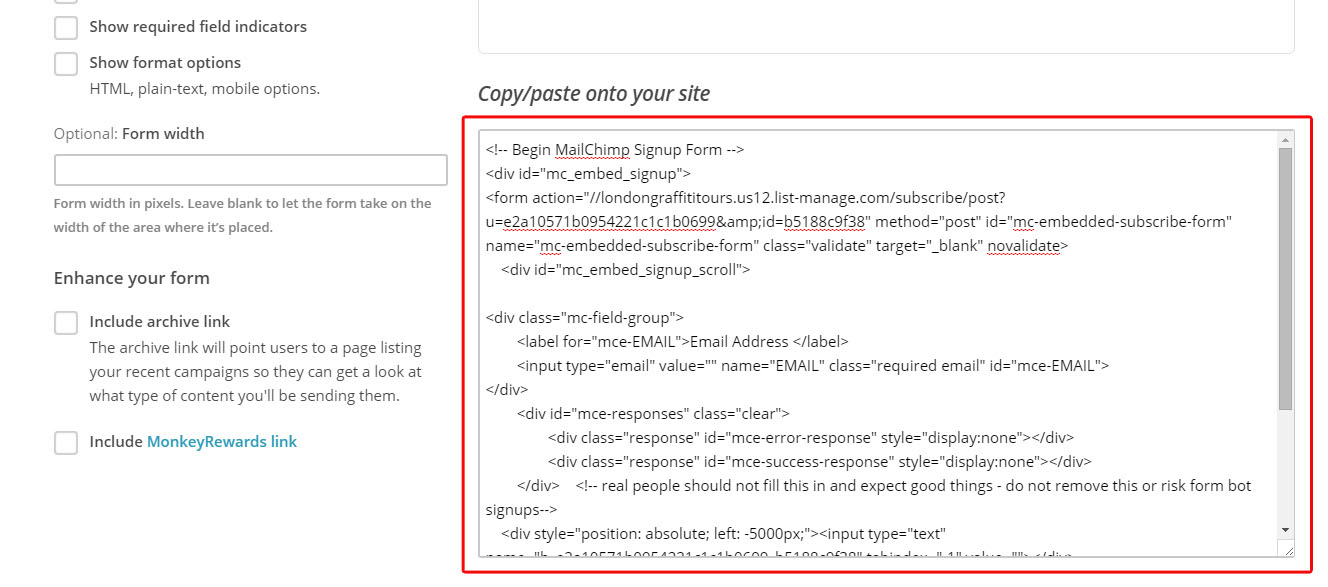
Next, copy the generated embedded code in the embed code box on right side of the screen. This is the code that we’re going to edit and integrate with our Slides subscription form.
Integrating MailChimp Embedded Code to Slides Subscription Form Markup
Now that we have everything set up for our MailChimp embedded code, let’s look how we can integrate it with our Slides subscription form markup.
Our original markup for our Slides subscription form contains the code below.
<form action="#" autocomplete="off" class="ae-4">
	<input type="email" class="rounded input-38" name="email" placeholder="Email"/>
	<input type="submit" class="button pink uppercase rounded" name="name" placeholder="Name" value="Get Updates"/>
</form>
And below is our embedded code generated by MailChimp.
<!-- Begin MailChimp Signup Form --> <div id="mc_embed_signup"> <form action="//londongraffititours.us12.list-manage.com/subscribe/post?u=e2a10571b0954221c1c1b0699&id=b5188c9f38" method="post" id="mc-embedded-subscribe-form" name="mc-embedded-subscribe-form" class="validate" target="_blank" novalidate> <div id="mc_embed_signup_scroll"> <div class="mc-field-group"> <label for="mce-EMAIL">Email Address </label> <input type="email" value="" name="EMAIL" class="required email" id="mce-EMAIL"> </div> <div id="mce-responses" class="clear"> <div class="response" id="mce-error-response" style="display:none"></div> <div class="response" id="mce-success-response" style="display:none"></div> </div> <!-- real people should not fill this in and expect good things - do not remove this or risk form bot signups--> <div style="position: absolute; left: -5000px;"><input type="text" name="b_e2a10571b0954221c1c1b0699_b5188c9f38" tabindex="-1" value=""></div> <div class="clear"> <input type="submit" value="Subscribe" name="subscribe" id="mc-embedded-subscribe" class="button"> </div> </div> </form> </div> <!--End mc_embed_signup-->
To integrate the embedded code with the Slides subscription form, we’re going to take the following lines of code from MailChimp:
<form action="//londongraffititours.us12.list-manage.com/subscribe/post?u=e2a10571b0954221c1c1b0699&id=b5188c9f38" method="post" id="mc-embedded-subscribe-form" name="mc-embedded-subscribe-form" class="validate" target="_blank" novalidate> <input type="email" value="" name="EMAIL" class="required email" id="mce-EMAIL"> <input type="submit" value="Subscribe" name="subscribe" id="mc-embedded-subscribe" class="button">
Notice that there is a link provided on the action method. This is the link that is responsible where your subscriber will be directed and validated. Let’s try to match these lines of code and add the existing class to our form for Slides:
<form action="//londongraffititours.us12.list-manage.com/subscribe/post?u=e2a10571b0954221c1c1b0699&id=b5188c9f38" method="post" id="mc-embedded-subscribe-form" name="mc-embedded-subscribe-form" class="validate ae-4" novalidate autocomplete="off"> <input type="email" value="" name="EMAIL" class="required email rounded input-38" id="mce-EMAIL" placeholder="Email"> <input type="submit" value="Get Updates" name="subscribe" id="mc-embedded-subscribe" class="button button pink uppercase rounded"> </form>
There is nothing special here. We combined the two forms and placed the necessary classes on the Slides and Embedded Subscription Form and removed the target=”_blank” attribute to make sure that it will direct the link on the same page.
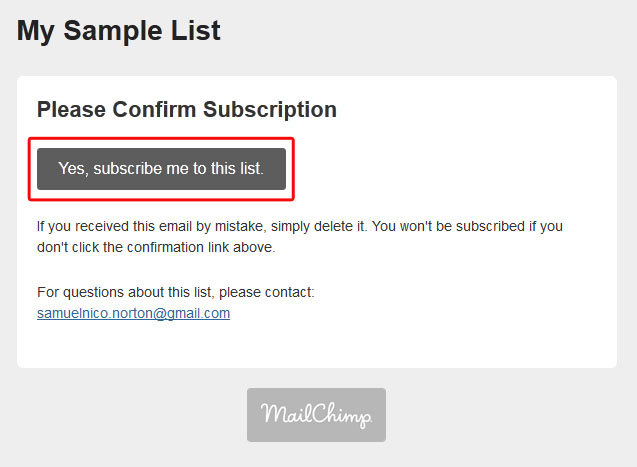
So if you are going to test this in your browser and put your email on it, you will be pointed on this window.
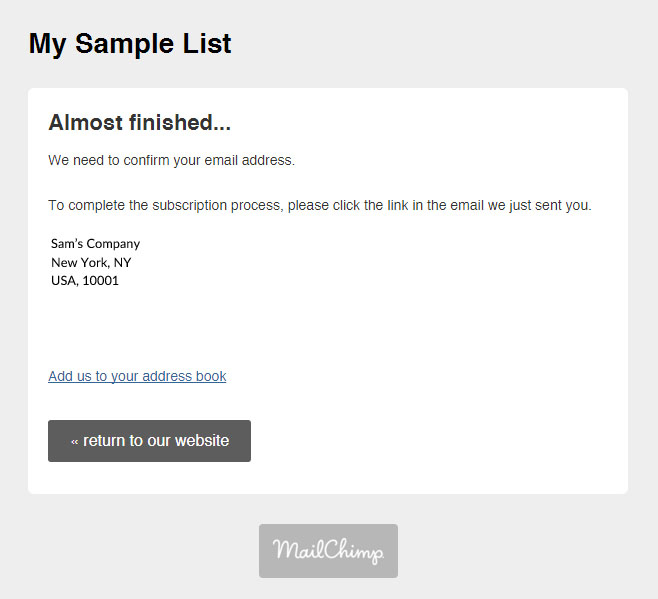
To confirm your subscription, you will receive an email. Click “Yes, subscribe” to confirm your subscription.
In Conclusion
MailChimp’s subscription process includes an optional “manage your preferences” link, which will give subscribers the ability to edit their information. This is the best way to manage subscribers without managing manually as MailChimp will handle all the processes.
In this article you’ve learned how to set up embedded code for your subscription form and integrate it with Slides subscription form. I hope you enjoyed this tutorial, please feel free to leave any questions, suggestions or comments below.


One Response